 So not a very exciting update, for most of you that are familiar with sidegapping, but its still something cool. Basically the standard sparkplug looks like this, with the electrode covering the tip. This causes the explosion to push out around the sides, but with a sidegapped plug, the tip isn’t covered by the electrode, so that means we can create an arched shape explosion, from the two closest points to the two furthest points of the electrode. I am not sure I explained that real well, but just follow the steps, and maybe do some research as well.
Start by getting yourself a dremel and some cutting discs. the ones I use come in a little plastic container with about 30 in there and they look like this:

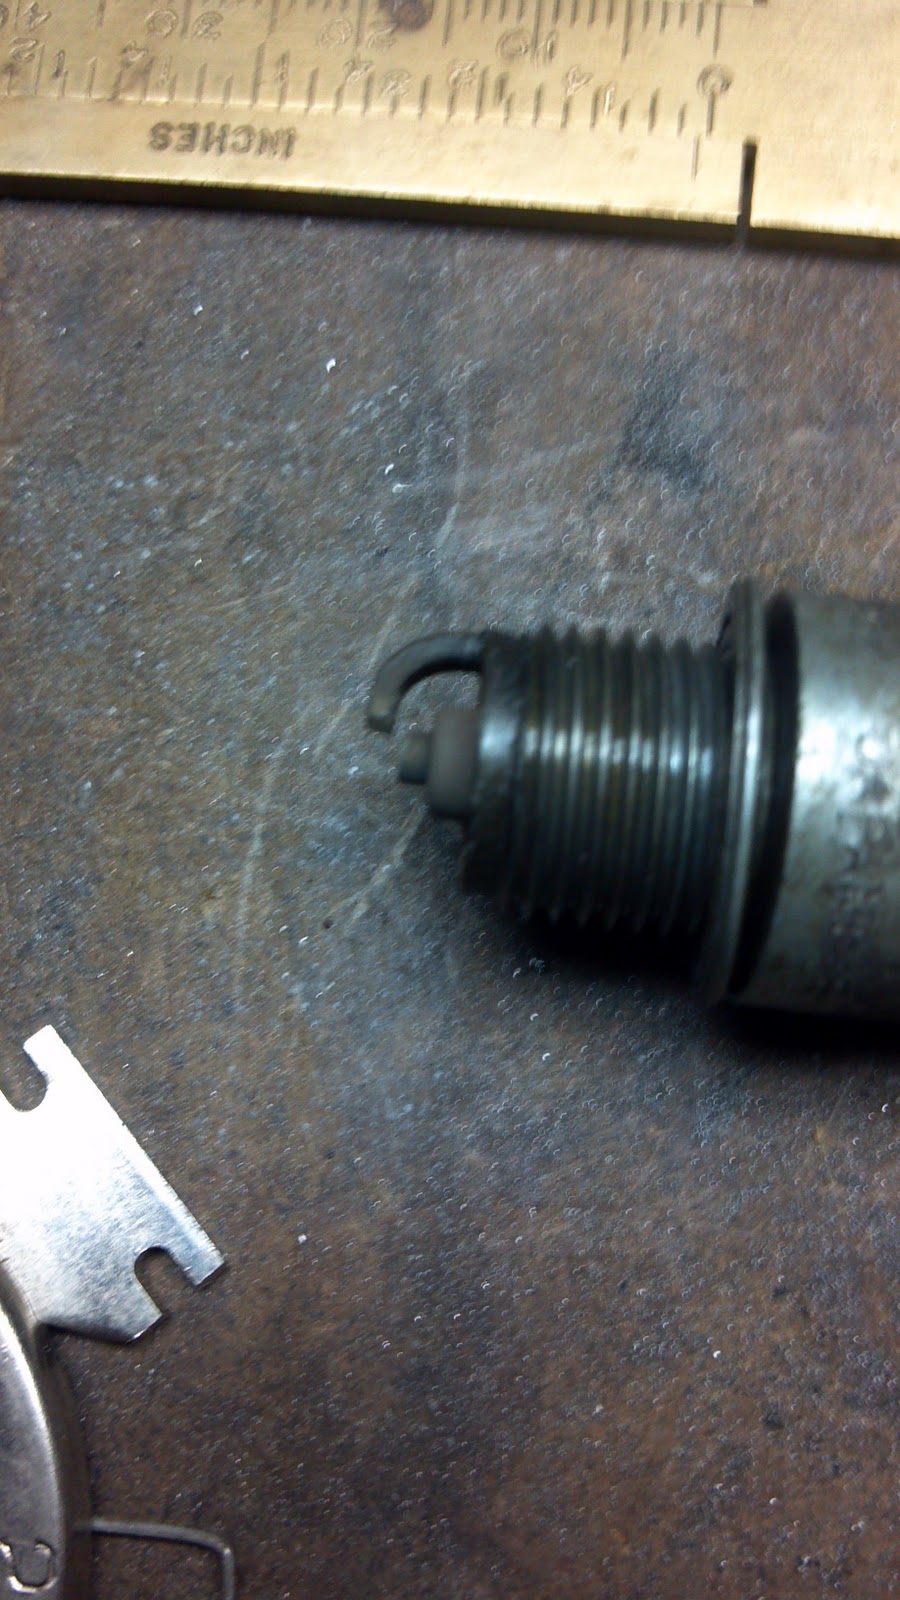
Another thing about dremels, I highly recommend a flex shaft attachment for everything, as it is easier to hold, gets into small spaces, they’re sweet. Anyways, sidegapping a plug is just as easy as it looks, just cut the electrode arm off so the edge that is cut off is just to the edge of the tip like this:
And thats about it. just lightly take of the burs from cutting off of the edges, but leave the edges sharp. Also with a high speed cutting tool it is very easy to go too fast, so take your time and start out too slow if you have to, avoid grind into the tip at all costs. Now that its sidegapped, we can effectively gap the plug at half the distance of the specified gap that we had before due to the arching shape doubling the explosion. This will create an easier sparking plug, with a better explosion! Like I said, do your own research, I am no expert. But high compression ratios demand a better plug design to run cooler temperatures. Well, thats all for now!